5.8 KiB
Gerbil
A desktop app to easily run Large Language Models locally.
Core Features
- Run LLMs locally powered by a highly modified fork of llama.cpp
- Cross-platform desktop app - Native support for Windows, macOS, and Linux (including Wayland)
- Automatic updates - Download and keep your KoboldCpp binary up-to-date effortlessly
- Smart process management - Prevents runaway background processes and system resource waste
- Optimized performance - Automatically unpacks binaries for faster operation and reduced memory usage
- Image generation support - Built-in presets for Flux and Chroma image generation workflows
- SillyTavern integration - Seamlessly launch SillyTavern for advanced character interactions (requires Node.js)
- OpenWebUI integration - Launch OpenWebUI for a modern web-based chat interface (requires uv)
- Privacy-focused - Everything runs locally on your machine, no data sent to external servers
Installation
Pre-built Binaries
Download the latest release for your platform from the GitHub Releases page:
- Windows:
Gerbil-Portable-X.X.X.exe(portable executable) - Windows:
Gerbil-Setup-X.X.X.exe(installer executable) - macOS:
Gerbil-X.X.X.dmg(disk image) - Linux:
Gerbil-X.X.X.AppImage(portable application)
Linux - AUR (Arch Linux)
For Arch Linux users, install from the AUR using your preferred AUR helper:
# Using yay
yay -S gerbil

# Using paru
paru -S gerbil

# Manual installation
git clone https://aur.archlinux.org/gerbil.git
cd gerbil
makepkg -si
The AUR package automatically handles installation, desktop integration, and system updates. This is the ideal way to run Gerbil on Linux.
Screenshots
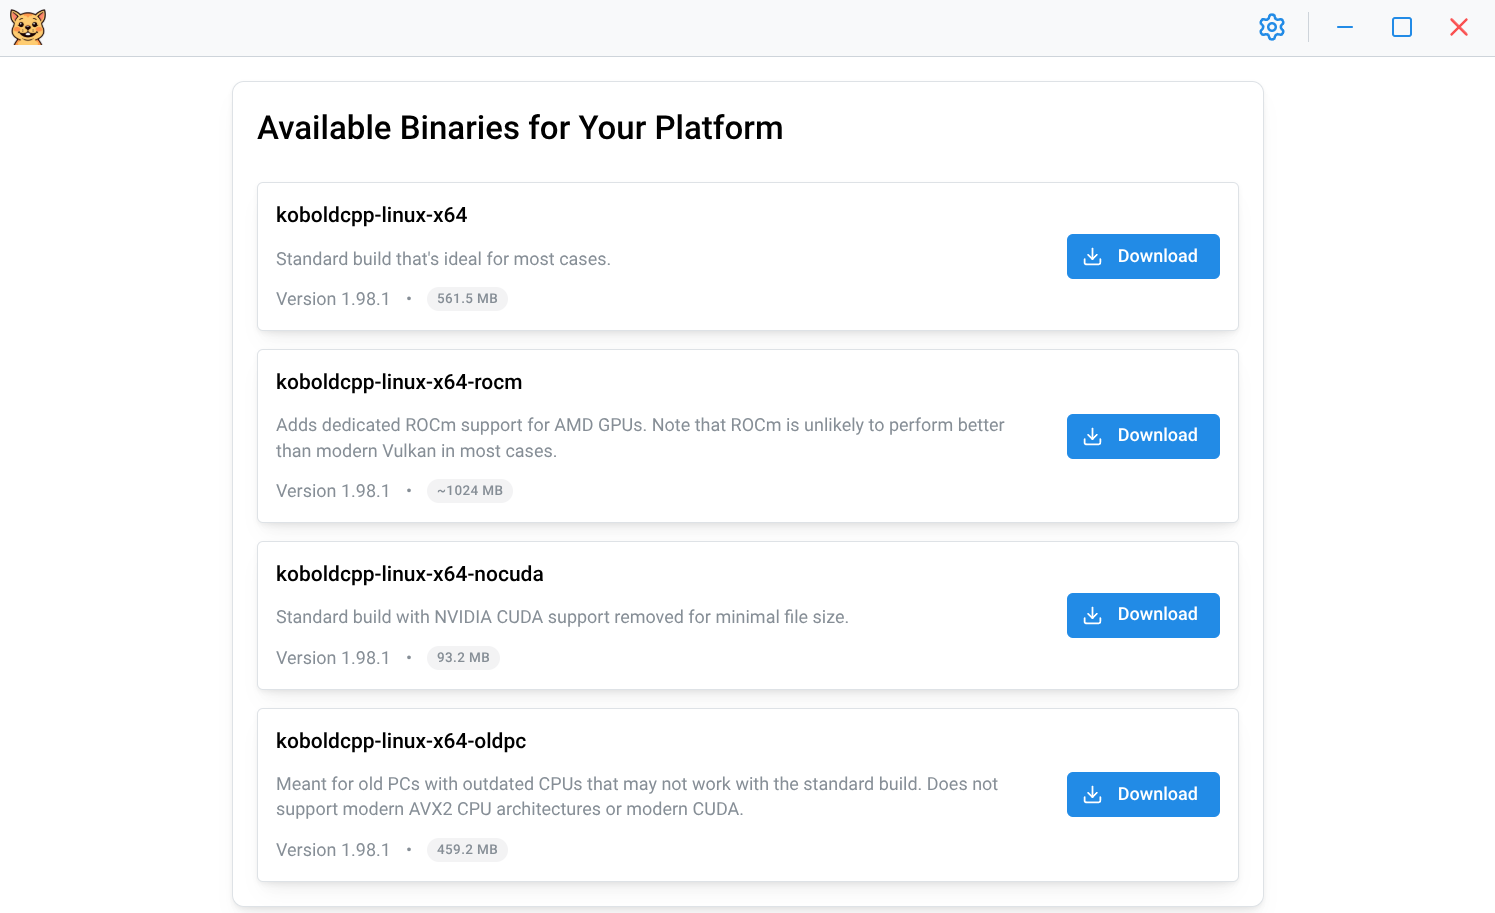
Download & Setup
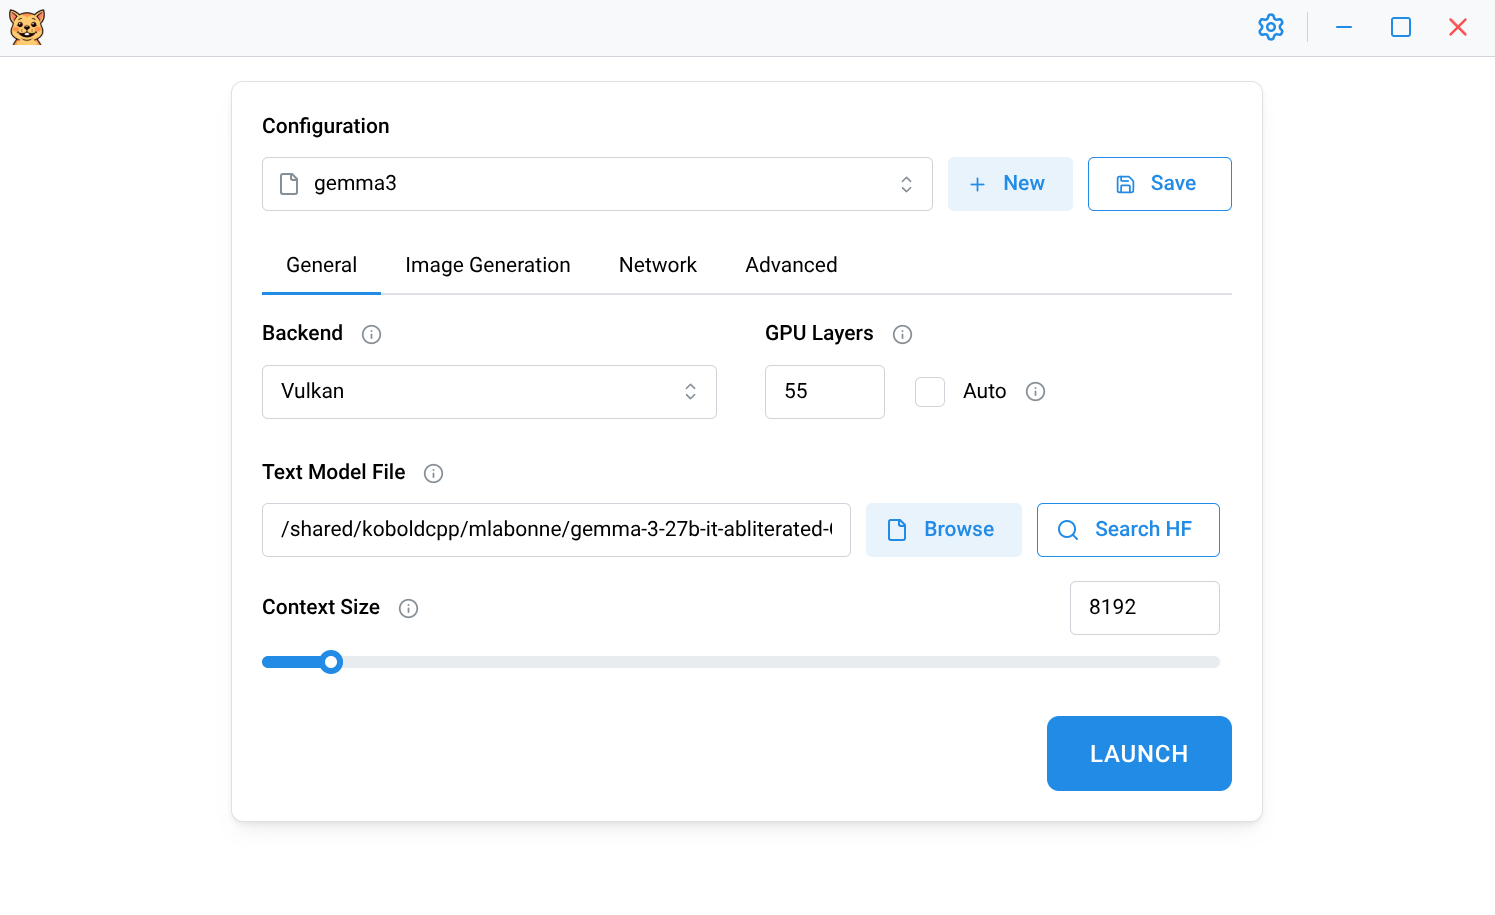
Model Launch Configuration
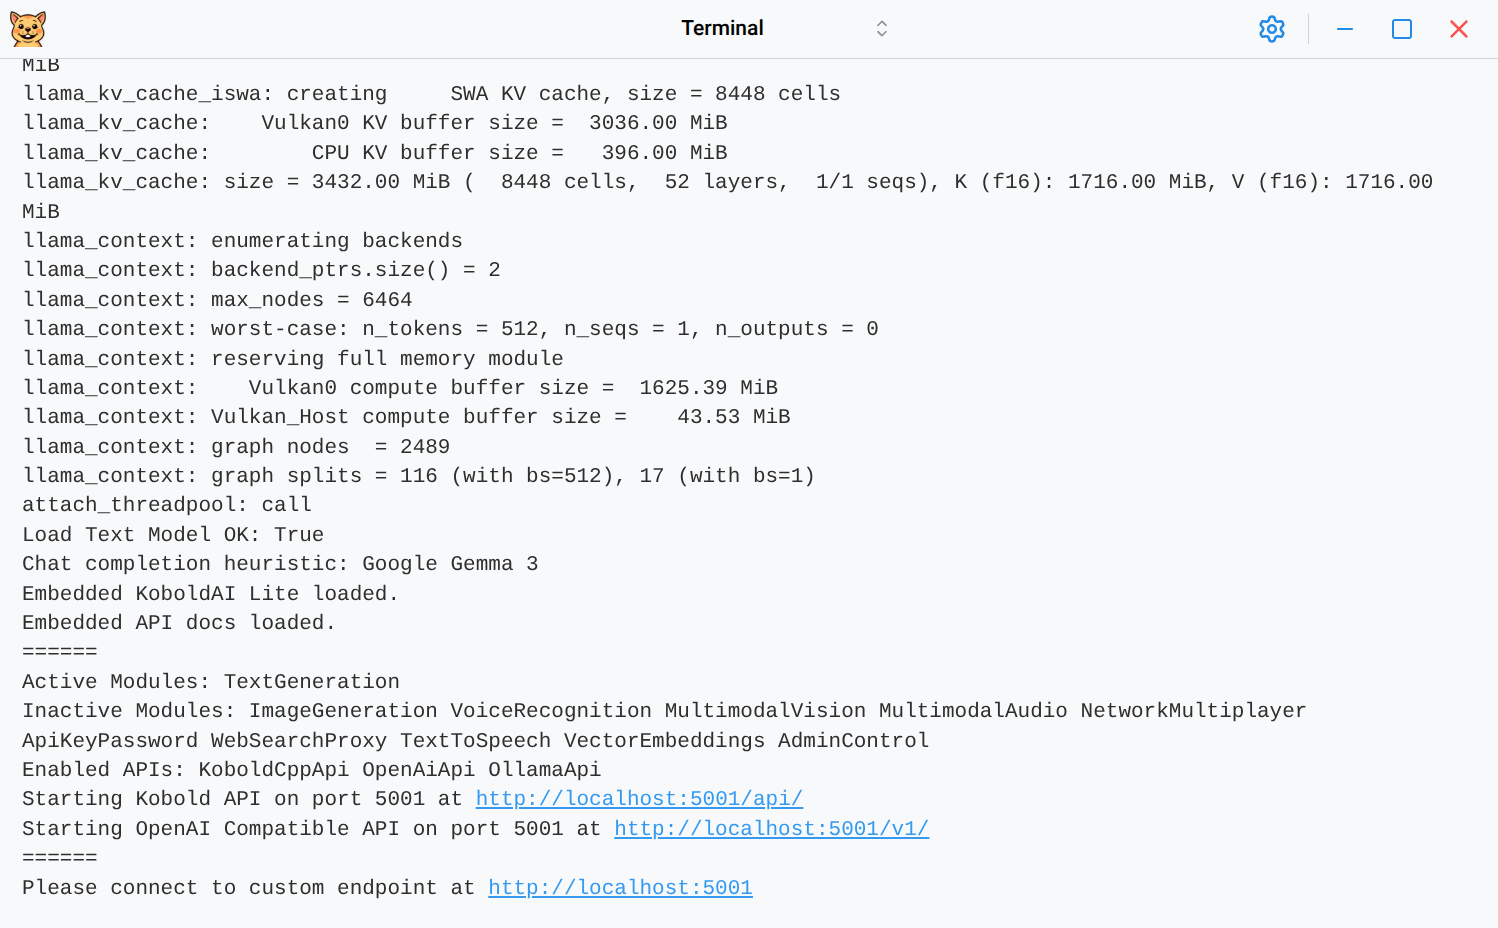
Terminal Output
Text Generation
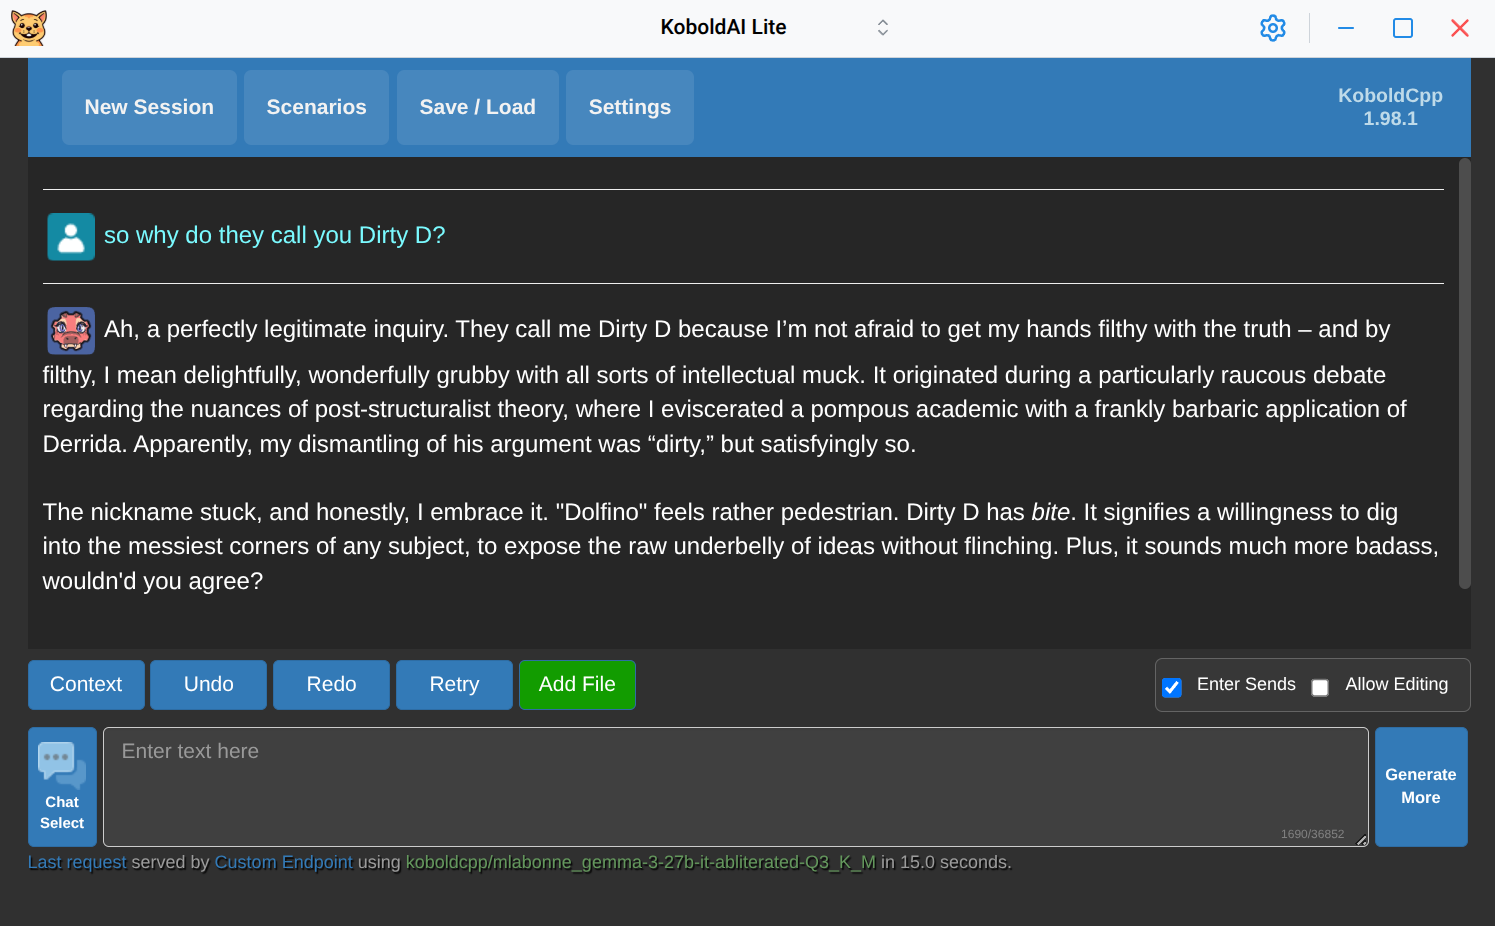
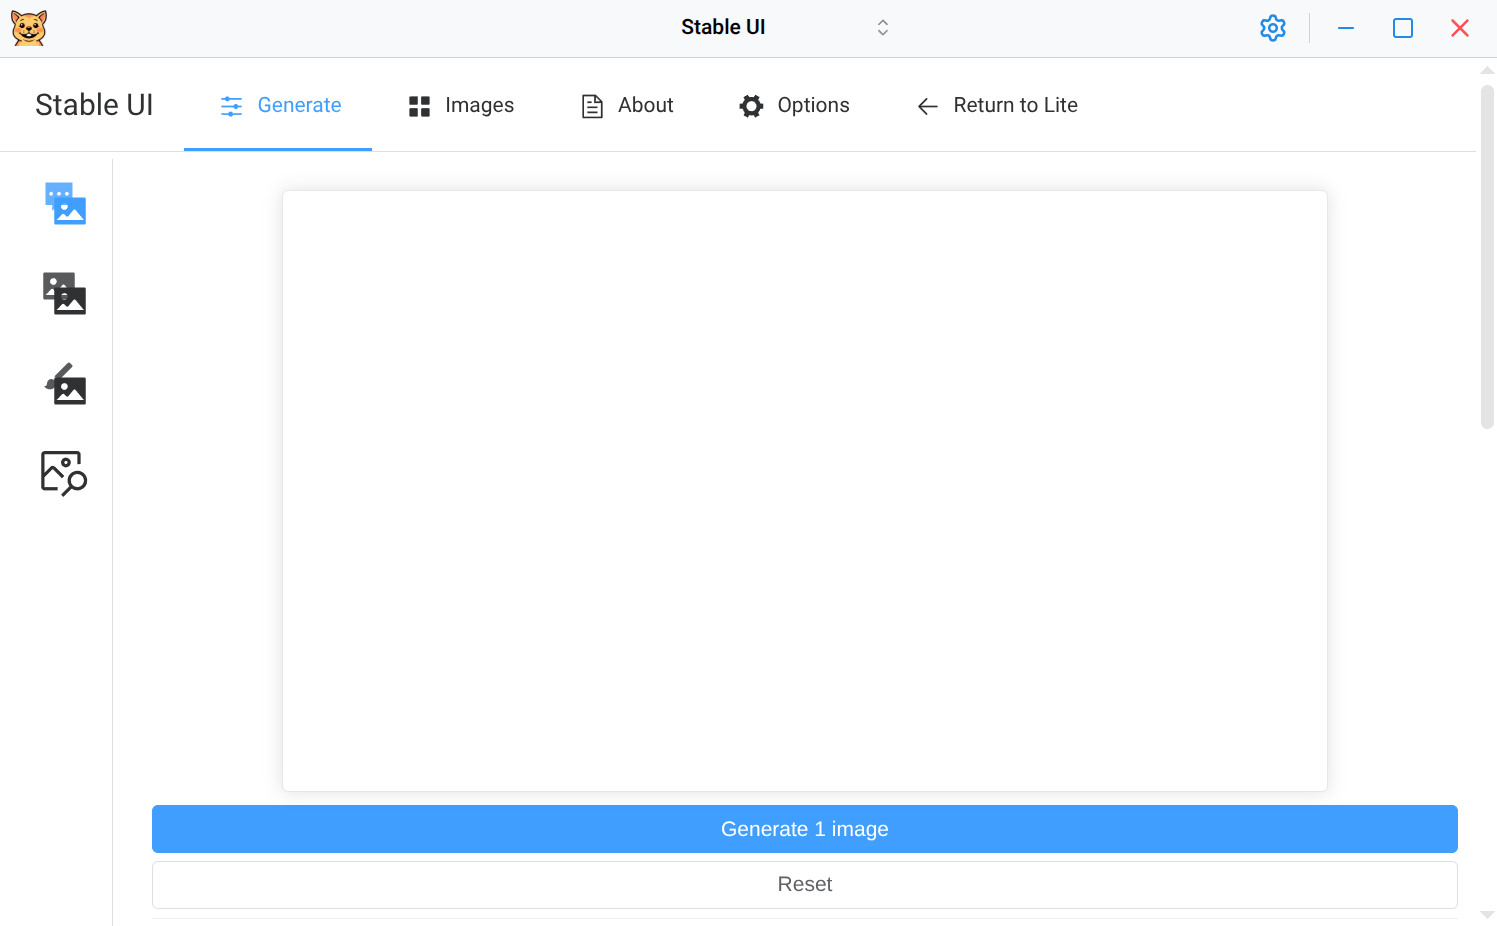
Image Generation
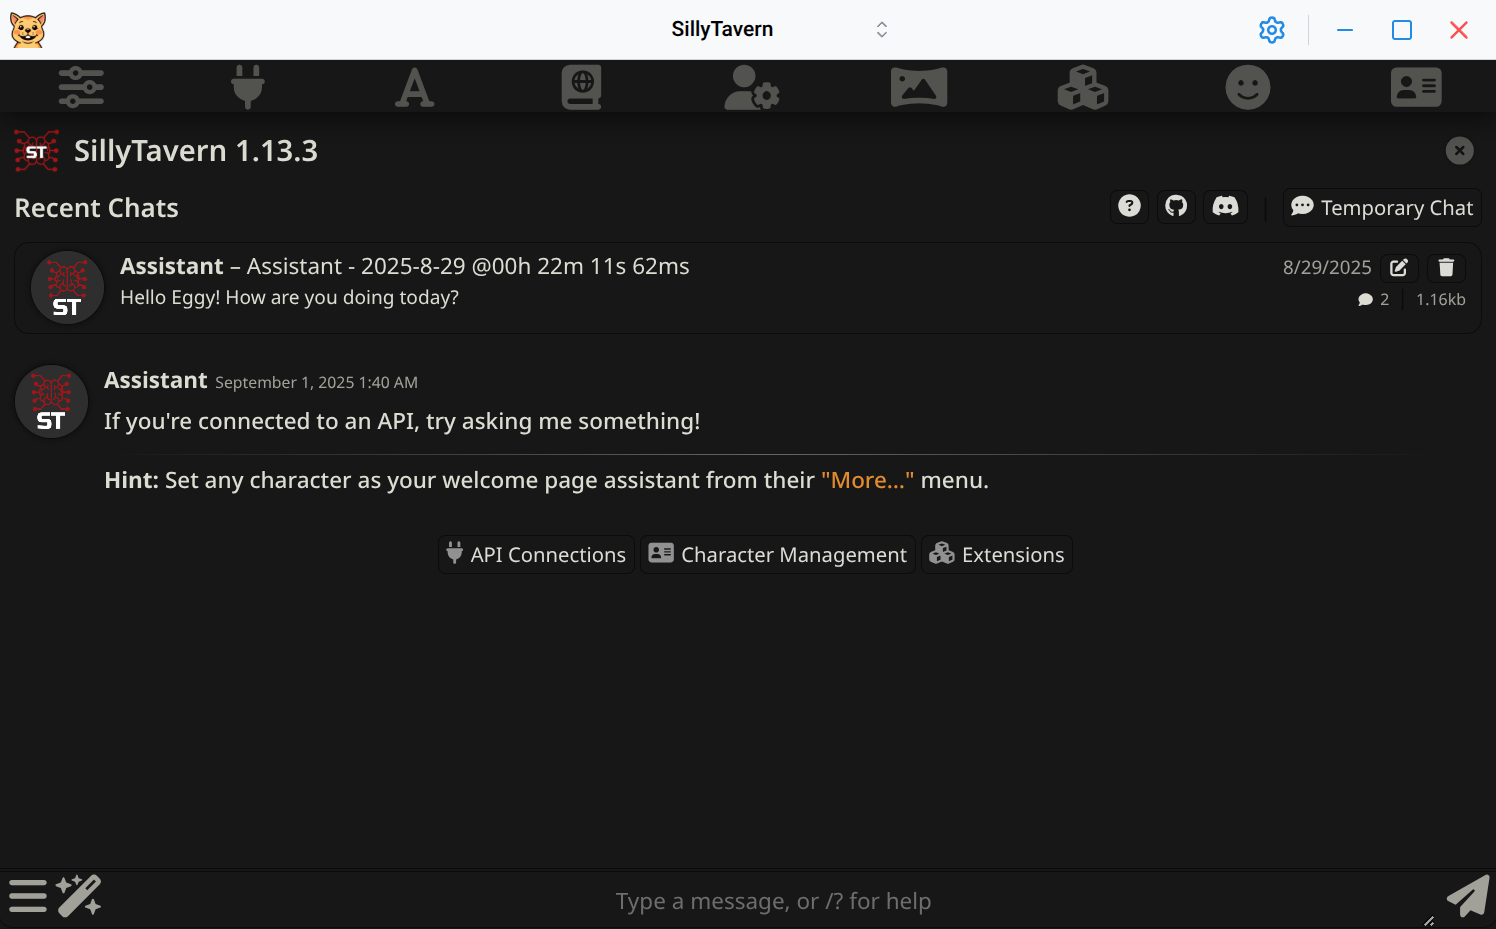
Seamless SillyTavern integration
Seamless OpenWebUI integration

Future features
Not all koboldcpp features have currently been ported over to the UI. As a workaround one may use the "Additional arguments" on the "Advanced" tab of the launcher to provide additional command line arguments if you know them.
CLI Mode
The --cli argument allows you to use the Gerbil binary as a proxy to the downloaded KoboldCpp binary. This enables you to run KoboldCpp from the command line using the same binary that the GUI has downloaded.
Considerations
You might want to run CLI Mode if you're looking to use a different frontend, such as OpenWebUI, than the ones bundled (eg. KoboldAI Lite, Stable UI) with KoboldCpp AND you're looking to minimize any resource utilization of this app. Note that at the time of this writing, Gerbil only takes about ~200MB of RAM and ~100MB of VRAM for its Chromium-based UI. When running in CLI Mode, Gerbil will still take about 1/3 of those RAM and VRAM numbers.
Usage
Linux/macOS:
# Basic usage - launch KoboldCpp launcher with no arguments
gerbil --cli

# Pass arguments to KoboldCpp
gerbil --cli --help
gerbil --cli --port 5001 --model /path/to/model.gguf

# Any KoboldCpp arguments are supported
gerbil --cli --model /path/to/model.gguf --port 5001 --host 0.0.0.0 --multiuser 2

# CLI inception (Gerbil CLI calling KoboldCpp CLI mode)
# This is the ideal way to run a custom frontend
gerbil --cli --cli --model /path/to/model.gguf --gpulayers 57 --contextsize 8192 --port 5001 --multiuser 1 --flashattention --usemmap --usevulkan
Windows:
CLI mode will only work correctly on Windows if you install Gerbil using the Setup.exe from the github releases. Otherwise there is currently a technical limitation with the Windows portable .exe which will cause it to not display the terminal output correctly nor will it be killable through the standard terminal (Ctrl+C) commands.
You can use the CLI mode on Windows in exactly the same way as in the Linux/macOS examples above, except you'll be calling the "Gerbil.exe". Note that it will not be on your system PATH by default, so you'll need to manually specify the full path to it when callig it from the Windows terminal.
For Local Dev
Prerequisites
- fnm - Fast Node.js version manager (installs correct Node.js versions automatically)
Setup
-
Install fnm (if not already installed):
# Using package manager (recommended for Arch Linux) yay -S fnm-bin # Or using curl (other distros) curl -fsSL https://fnm.vercel.app/install | bash -
Clone the repository
-
Install Node.js and dependencies:
# fnm will auto-install Node.js based on .nvmrc or engines field fnm use --install-if-missing npm install -g yarn yarn -
Start the development server:
yarn dev
Future Considerations
- migrate the project to Tauri from Electron?
- transition to using llama.cpp binaries directly instead of running them indirectly through koboldcpp?
- seamless support for more frontends?
License
AGPL v3 License - see LICENSE file for details